How to Use Schedule Builder
Schedule Builder is a tool within Minnesota State Student Planner that uses courses from a Preferred Plan in Graduation Planner—or you can manually add courses—to create multiple possible schedules. Build class schedules manually or automatically generate combinations based on your unique preferences.
To begin adding courses, you can start in Graduation Planner or start in Schedule Builder.
Start in Graduation Planner
Planned courses can be pushed from a Preferred Plan term in Graduation Planner to the My Schedule section in Schedule Builder.
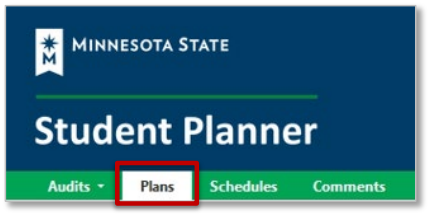
- Select the Plans tab
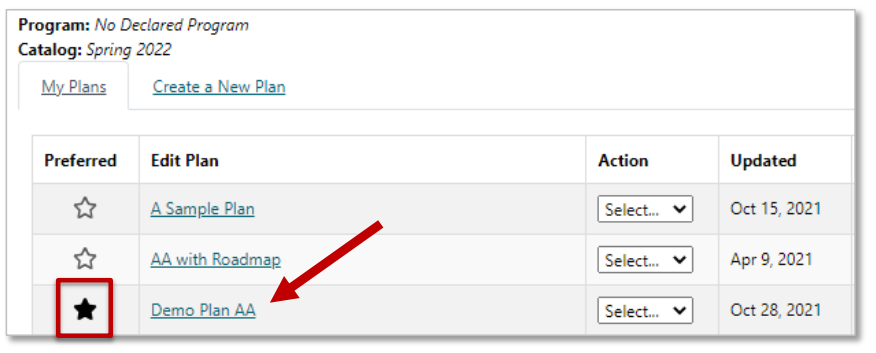
- On the Manage Plans page, select the Preferred Plan.
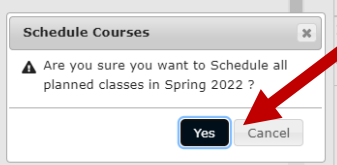
- In the term you would like to push to Schedule Builder, select the calendar icon.
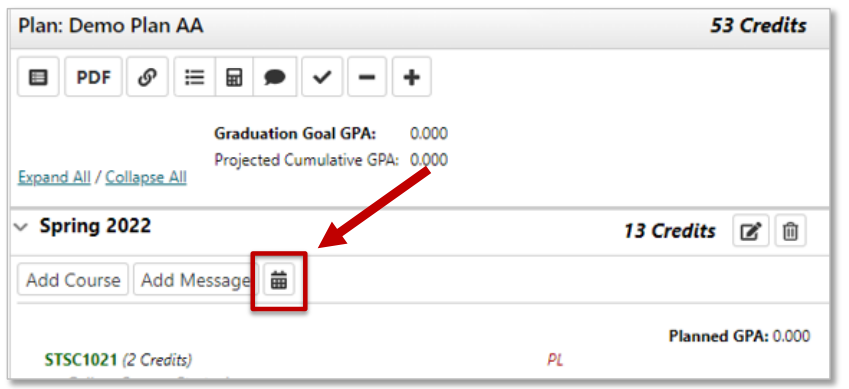
- Select Yes to add the Planned courses to the same term in Schedule Builder.
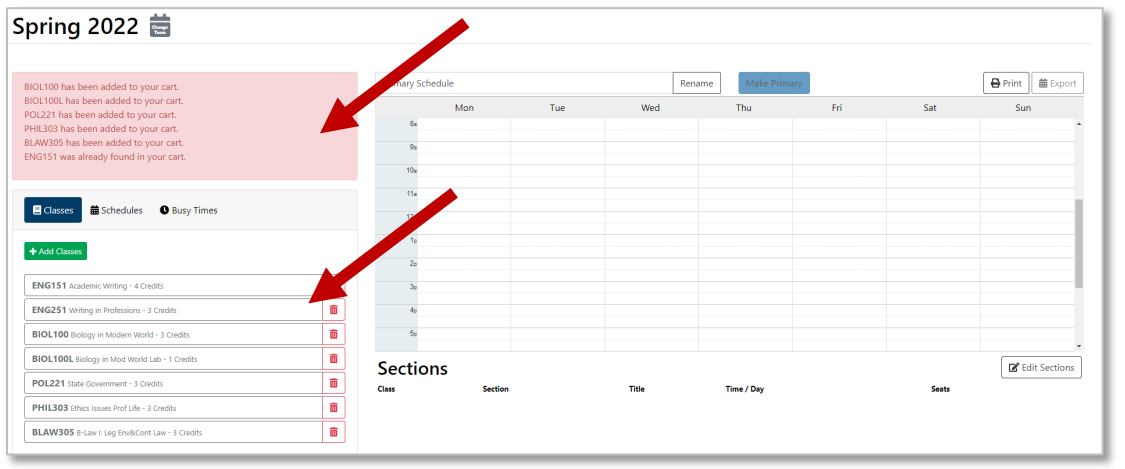
- Schedule Builder will open with the Preferred Plan courses added.
Start in Schedule Builder
Create schedules by adding courses directly in Schedule Builder.
Add courses and identify Busy Times:
- Add courses directly in Schedule Builder by using the search bar.
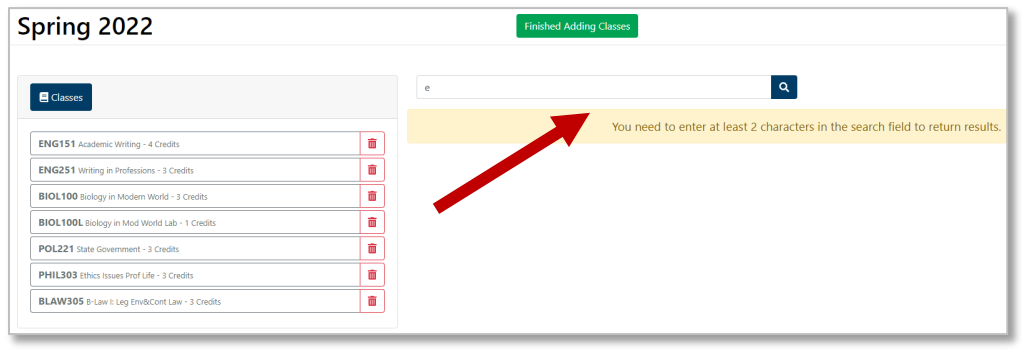
- Once all your courses have been added, select Finished Adding Classes.
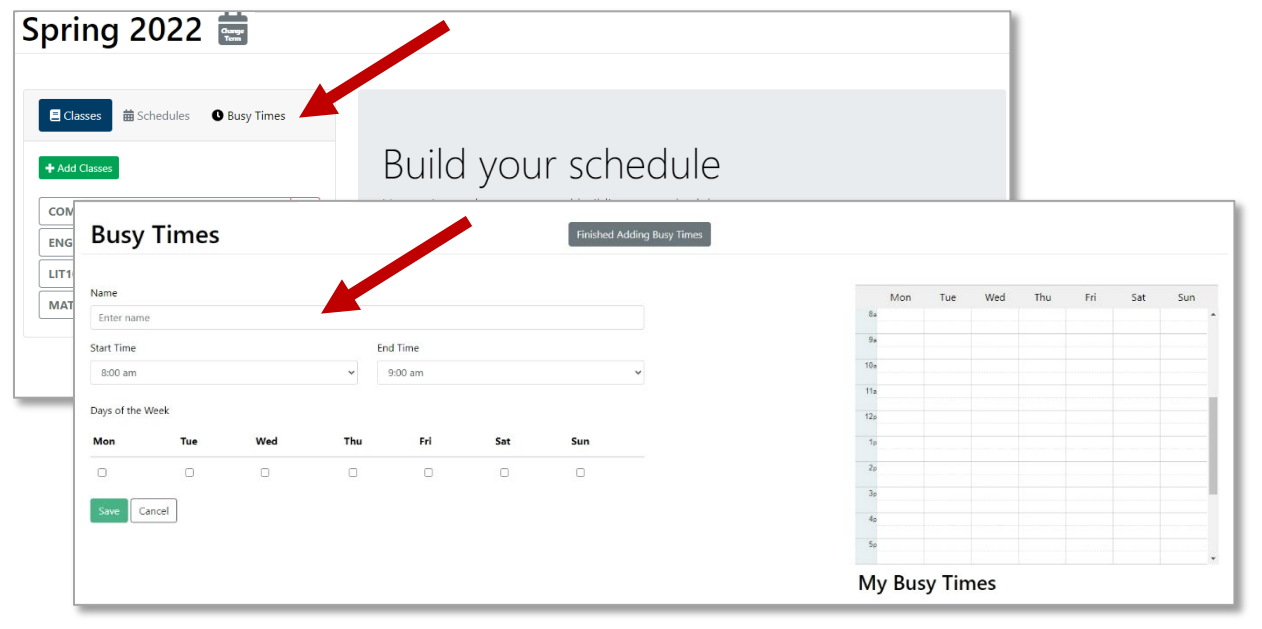
- Select Busy Times to enter times you cannot take classes.
Set your preferences
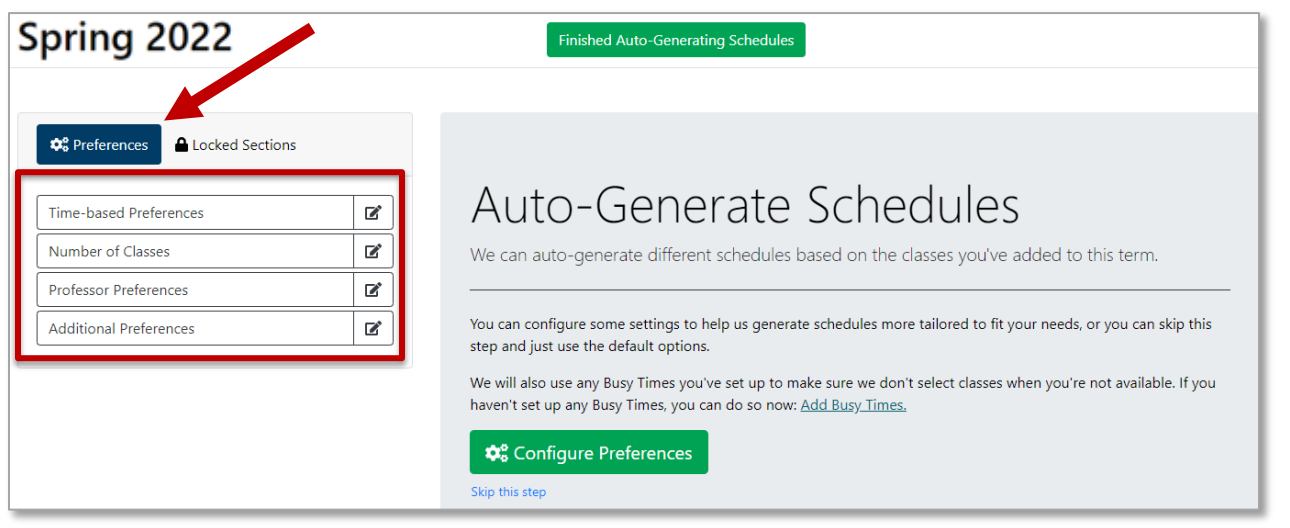
- Time-based preferences
- Narrow down when you want to take classes:
- Time between classes
- Time between classes on different campuses
- Number of days
- Time block
- Number of classes you want to take
- Take them all
- I planned extra
- Minimum/maximum number of classes/credits
- Are there classes you must take together?
- Are there classes you do not want to take together?
- Prioritize which classes you prefer over others
- Additional preferences
- Identify your preferred professor(s).
- Identify the course delivery types you prefer.
- Select Save & Finish.
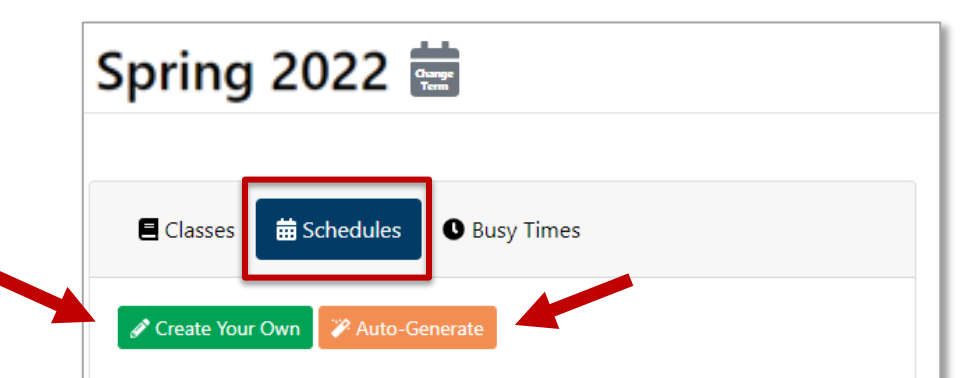
Generating Schedules
From here you can Auto-Generate Schedules or Create Your Own Schedule. You can choose to do either option at any time.
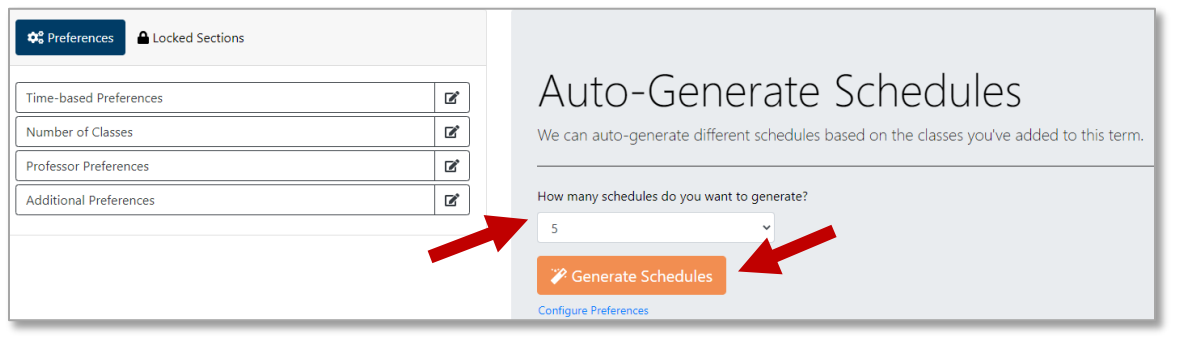
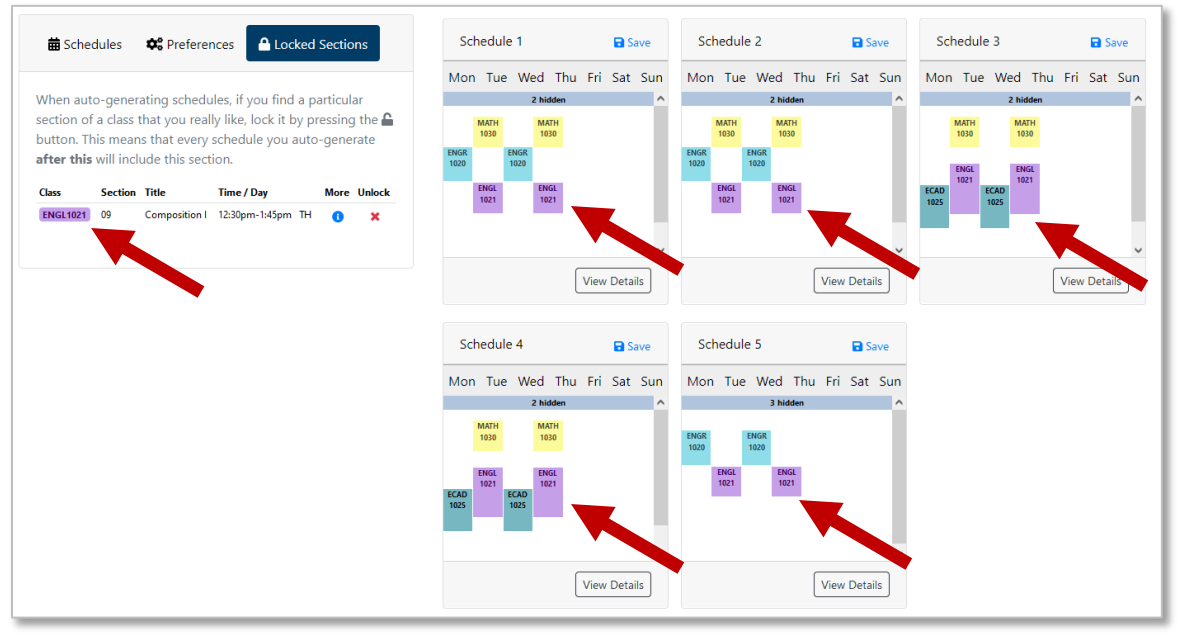
Auto-Generate Schedules
- Select the number of schedules you want to generate, and select Generate Schedules.
- Continue to edit the auto-generated schedules.
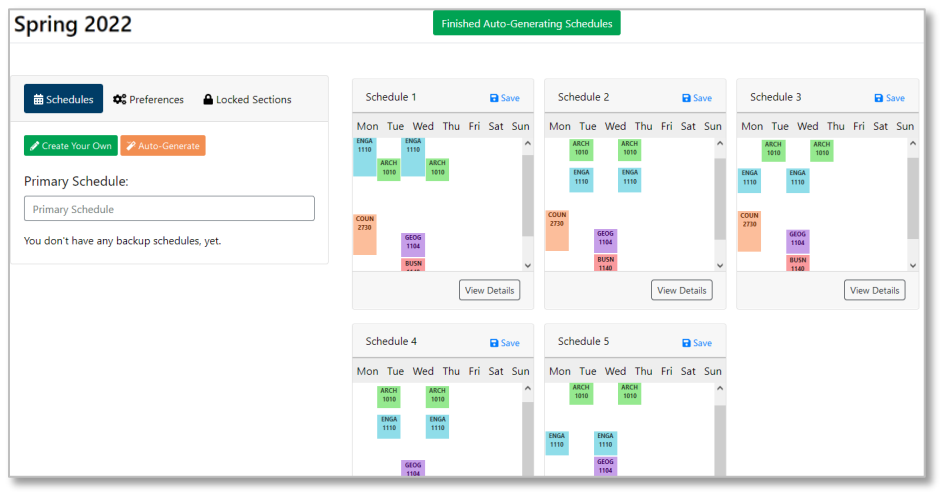
- Lock a Section to pull it into every auto-generated schedule that is produced. Locking a section only applies to auto-generated schedules.
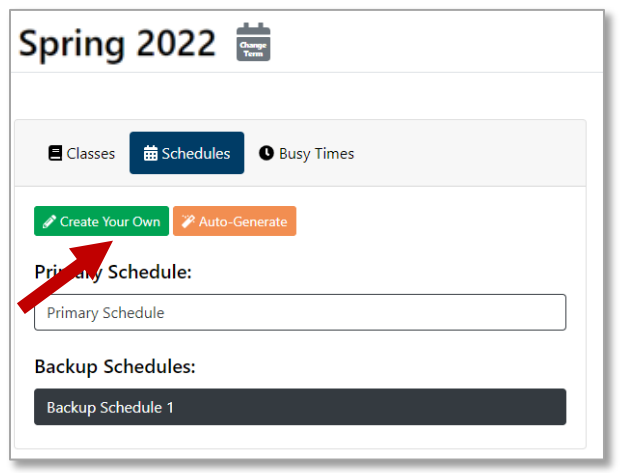
Create Your Own Schedule
Select the Create Your Own button to manually create a schedule from the courses you added.

Print a Saved Schedule
Print or Export a saved schedule using the buttons in the top right-hand corner.
Register for your courses in Student eServices
Use the Course ID numbers in your Primary Schedule in Schedule Builder to register for classes in your Student eServices.
In Schedule Builder:
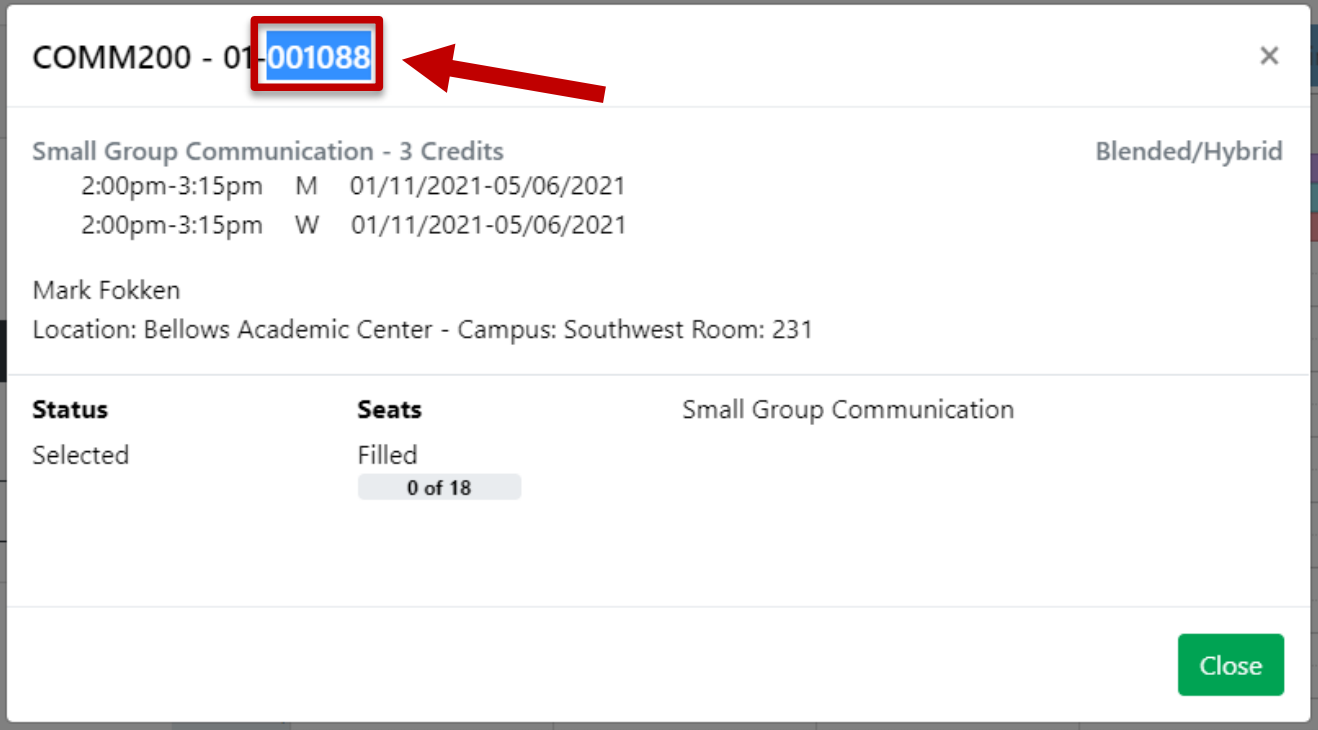
- Select the blue information icon to open full section details.
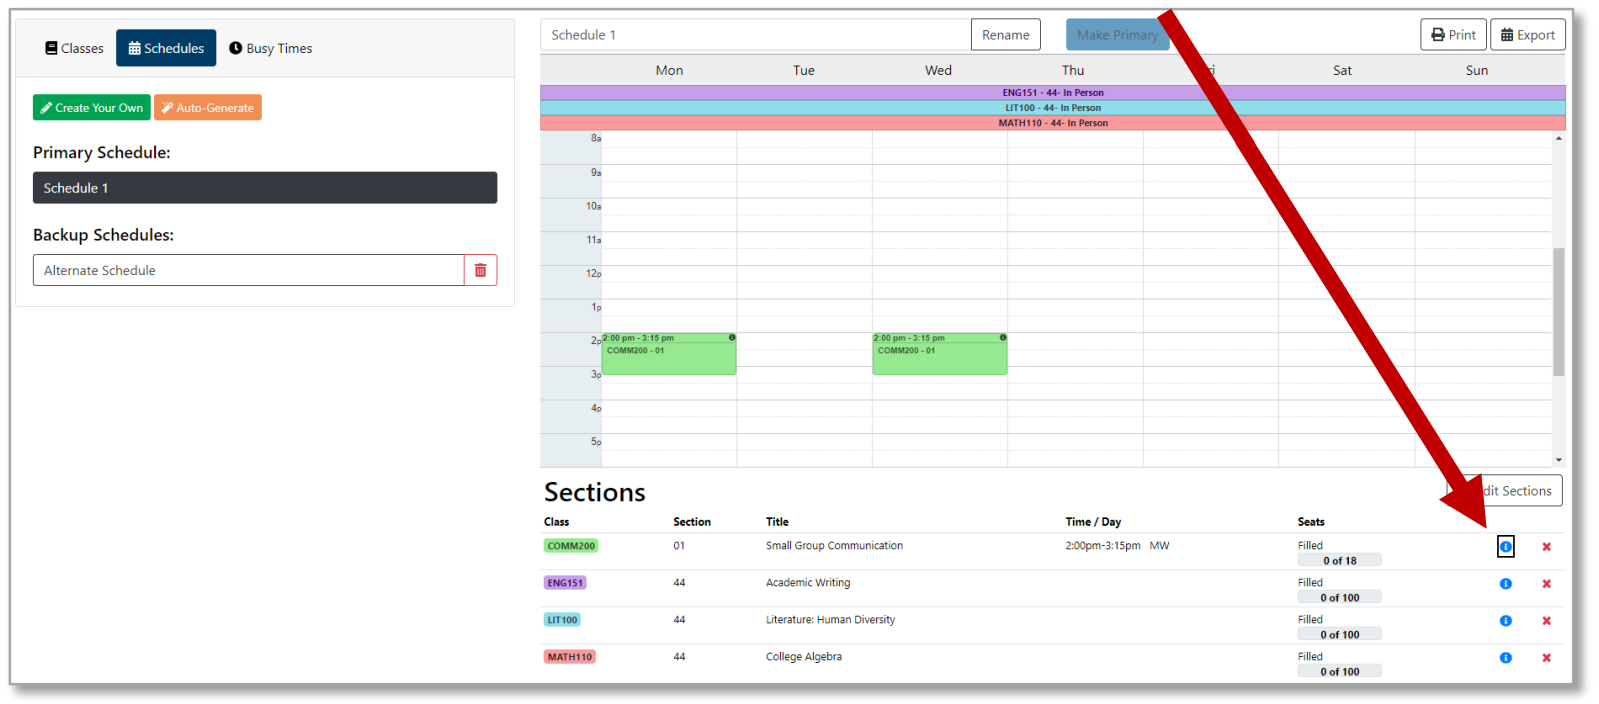
- In the section details pop-up, select and copy (Ctrl+C) the last six digits. This is the Course ID number.
In Student eServices:
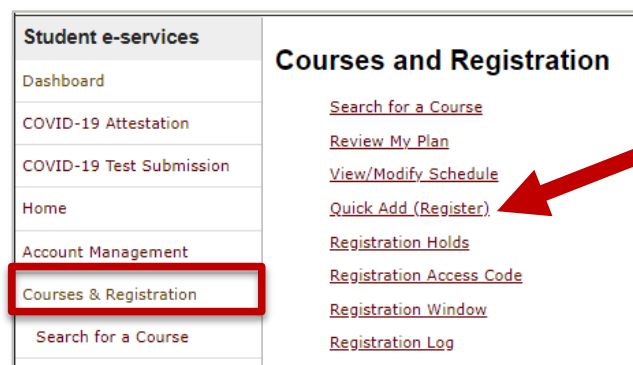
- Select Courses & Registration from the menu.
- Select Quick Add (Register).
- Add your Course ID numbers by pasting (Ctrl+V) into the Course ID input field.
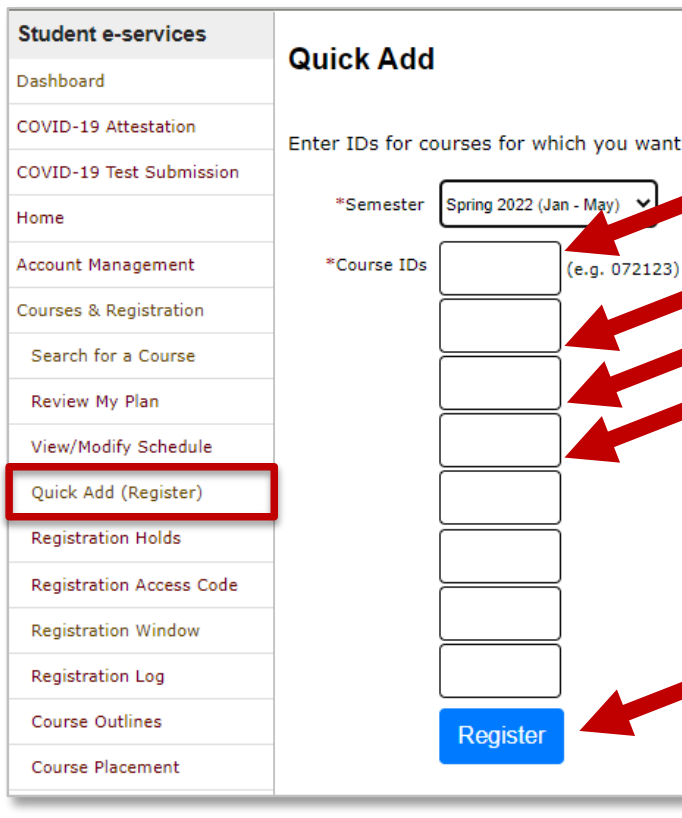
- Select Register. The courses will now be in your Wish List.
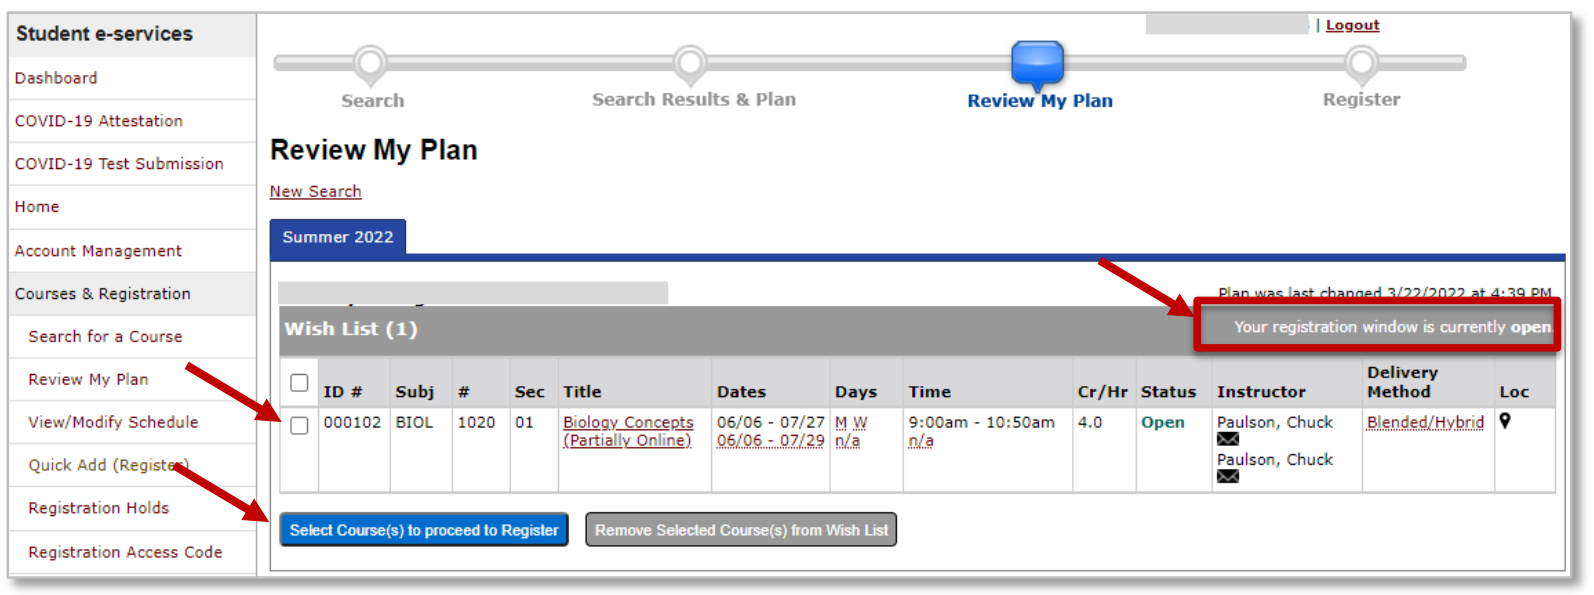
- Select Review My Plan from the menu to view your Wish List.
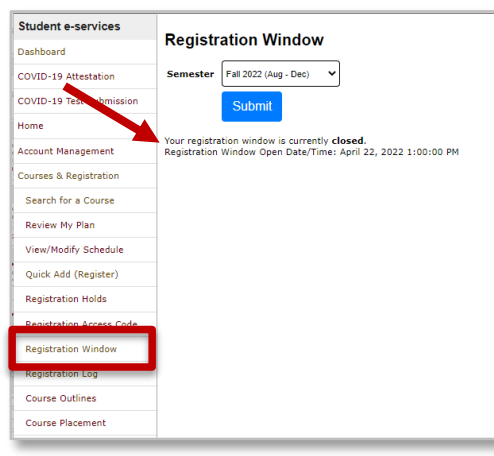
Registration Windows
- If your registration window is open, you can check the checkbox of each of the course and select Select Course(s) to proceed to Register.
- If your registration window is closed, you cannot register for classes yet. Once your registration is open, return to your Wish List to complete your registration.
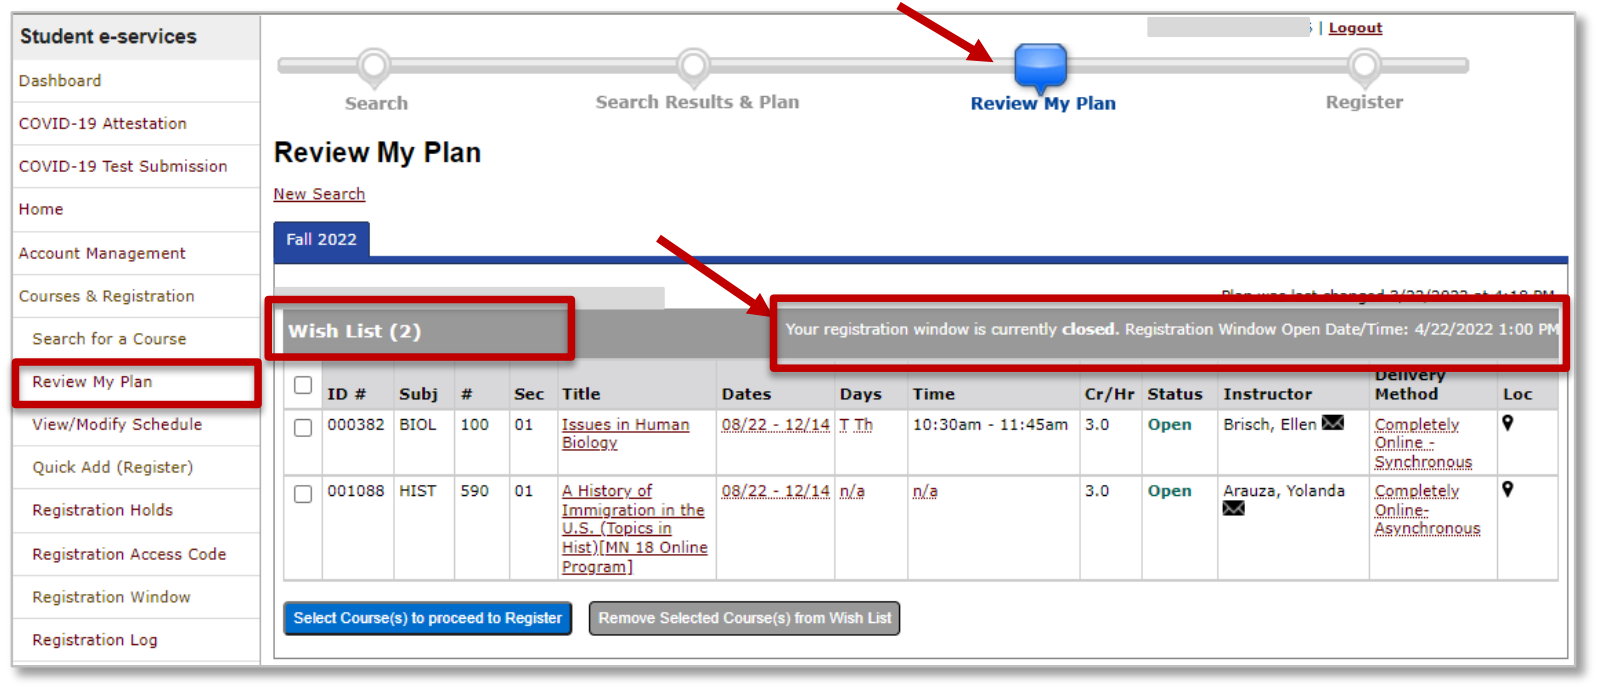
- Find when your registration window will open on the Registration Window page in eServices.